Saturday, June 29, 2013

Installing The Tuning Machines

I decided early on that I wanted this guitar to be a workhorse, and I decided on Schaller locking tuners. The locking tuners can help to keep the strings in tune if the tremolo's going to be used heavily. For me, I decided on the tuners because of the tuning ratio (1:16). This means that for every 16 turns of the peg, the head turns once. Other tuners that I had considered were 1:14 or lower ratios, making tuning a lot less accurate.

The first order of business was to get all of the parts that I'd need together. The particular mounting type of the machine heads required holes for the pins to be drilled first (the traditional way used screws, which required test fitting the parts first and then marking and drilling).

Here are two pictures of a tuning machine looking at the side which would be mounted to the headstock. The pin is pretty obvious, being the little nub to the right of the main tuning machine barrel.

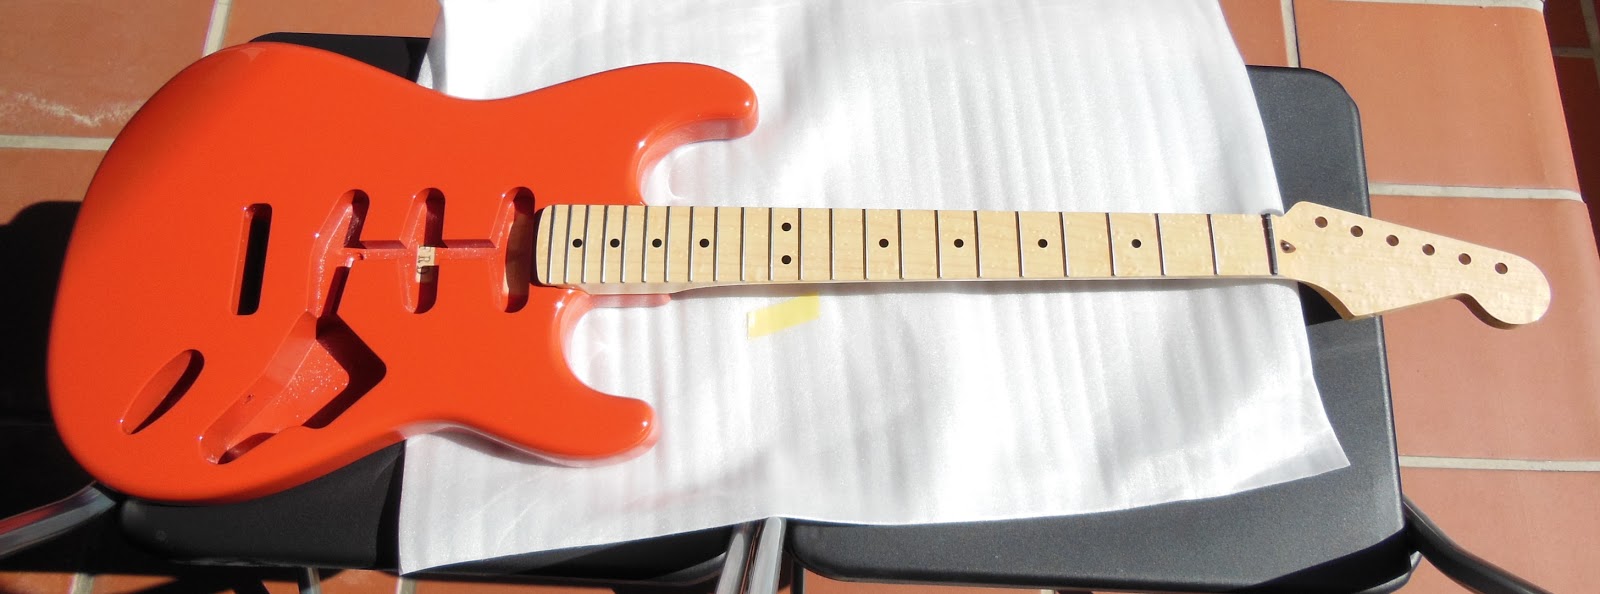
Gathering all the parts required. Counterclockwise from top: the neck, masking tape for protecting the finish, 12 inch straight edge, drill jig, 6 inch straight edge, clamps, #38 drill bit, countersink bit, tuners, digital caliper.

I then proceeded to measure the depth of the drill jig and the pin on the tuning machine itself.

The result was 12.48 mm for the drill jig depth and 4.08 mm for the pin, resulting in 16.56 mm total for the drill bit (this degree of accuracy would end up not being relevant, but more on that later). The instructions for the drill jig stated that the correct drill depth would be 11/16 inch, which is 17.4625 mm, but I decided to go with the conservative route and set the drill depth to be 16.56 mm.

Next, I had to make sure the jig would be squared on the headstock. My solution was to use the 2 straight edges and produce 2 parallel edges for squaring the jig.

I first placed masking tape around the neck to provide a cushion upon which the straight edges could be clamped:

I also taped the locations where the drill hole would be, because I wanted to be extra careful with the finish. Drilling bare into finish is a great way to chip or crack it, so I wanted to be as careful as possible (that didn't end up being required since the drill jig pressure on top of the finish was enough to keep it safe).

Straight edges clamped on and guiding the jig:

Once I was ready to drill, I went ahead and cautiously drilled through the masking tape, being careful to do a couple of passes and making sure to back out the drill properly and often to clear out the wood chips.

The first drill hole:

The drill jig ended up being really accurate... too accurate in fact, as I ended up having to freehand, but more on this in a bit...

All the drill holes done!

I was pretty happy when all the holes were complete, but when it came time to install the tuners, I found that they weren't mounting flush. I ended up using the deeper 11/16 inch drill depth as instructed by the drill jig documentation, but I found that there was still something wrong.

As it turns out, the drill jig was so damn accurate, with absolutely no free play for the tuning machine pin fit, that the inaccuracy of the tuner holes for the barrel caused the pins to not fit properly!

I ended up trying to redrill the holes with the jig and with the straightedges removed, but there wasn't even enough free play in the jig to slightly elongate the holes. I tried countersinking the holes, but that didn't work either.

In the end, I finally decided to elongate the holes freehand using the existing holes as a guide, and that finally got the barrel-pin distance right for a couple of the holes that had problems. Sometimes, being too accurate when the rest of the pieces aren't can cause problems.

Once the pin holes were right, I installed the tuners, and it was a simple task just tightening the nuts with a 10 mm socket.

The finished installation:

Shiny!

You can see the 3 + 3 staggered heights of the string holes. The 3 tuners on the left have lower string hole placement while the 3 tuners on the right have heigher string hole placement. This is to help keep the angle of the strings from nut to tuner consistent, for consistent tension of the strings over the nut.

Late afternoon sunlight and the headstock.

Looks great, but did I mount it straight?

Looks promising...

That's about as good as it gets!

Aw yiss!

Now that the tuners are in, I have to deal with the two most critical pieces: fitting the neck to the body, and installing the tremolo.

But for now, I deserve a nice cold soda.

Wednesday, June 26, 2013

New Shipment Of Stuff

I finally got my package of goodies from StewMac today!


Exhibit A: Schaller locking tuners with the modern pin (doesn't require screws) in chrome.

They really are shiny!

Exhibit B: Tuner pin drill jig. This is going to help me drill the correct hole for the tuner pin hole.

Exhibit C: Copper shielding tape. This is going to be for the pickup and control cavities in the body. The conductive tape will act as a Faraday cage and block out signals to reduce noise from the electronics. I don't think I'll tape anything until I get the neck pocket perfectly sanded.

Exhibit D: String action gauge. This is going to help me set up the guitar strings' action (how high or low they are from the fretboard) once I've completed the project. I'll take measurements of the action on my existing guitars so that I can replicate the kind of feel I like.

Exhibit E: #38 drill bit. Essentially in between a 7/64 and 3/32 inch bit (pretty much a 13/128 inch, uuuugh). I'll need this for drilling the tuner pin holes. Too bad the pins aren't 7/64 or 3/32... otherwise my existing SAE set would have worked fine.

Exhibit F: Tremolo bridge templates. These templates are going to help me space the holes that I'll need to drill for the bridge. Those holes are arguably the most important that I have to drill myself, because if I screw up, the intonation will never be right, and I'll have to plug the holes and redrill. On such a nice Strat body, I'd rather not have to resort to doing that.

I feel tempted to drill the headstock right now, but I'll wait for the weekend. I want to get another straightedge and also some soft clamps and drafting/masking tape so that I can make some marks to ensure the drill holes will produce a very straight alignment for the tuners.

Good things are worth waiting for, after all.

Saturday, June 22, 2013

Sanding The Finish Out Of The Neck Pocket

It's a really nice warm Saturday, and it was perfect for doing some work on the Strat. I've ordered some hardware and tools from StewMac, but I won't get them until the upcoming week. I ended up getting some chrome Schaller locking tuners, a specially sized drill bit that the tuners require (#38, which is in between 3/32 and 7/64, making it essentially 13/128, argghhhhh), and some other assorted goodies.

I still need to get a drill press before I do any drilling (the handheld one I've got is nice, but it just won't be good enough to drill everything plumb, level, and square).

Anyway, I decided to go ahead and sand the finish out of the neck pocket for today.

Here's an example of the finish that's in the neck pocket, causing problems for the neck fit:

The extra bits of finish actually knock the neck holes out of alignment from the holes in the neck pocket of the body, so that's why I decided to do the sanding. I started off with just some 180-grit sandpaper and a diamond sharpening plate that I use to level knife sharpening stones. The plate is pretty flat so I used it for keeping the sandpaper flat.

Sanding the finish off is a total bastard.

I thought that a rough grit like 180 would be pretty quick in taking off the finish, but I spent about 20 minutes sanding and sanding one particular spot before I decided to grab a small chisel that I have. I ended up using it to take off as much finish as I could.

By the time I was ready to sand, I used the diamond plate to keep the sandpaper level for any spots where I needed it.

After about an hour, I finished sanding the top part of the neck pocket, and I was able to do a test fit of the neck. The gap that the old bits of finish causes was gone, but the screw holes were still not yet aligned.

I spent the next hour sanding the 2 straight sides of the pocket, and it allowed the side-to-side alignment of the holes to be right. At this point however, the neck fit into the pocket was no longer snug and I had to clamp my hands on the neck and pocket whenever I wanted to check the results of my work.

As you can see here, the side of the pocket is now flush with no extra finish:

These pictures also show the heel part of the pocket also sanded, but it's not quite perfect yet. After a long time sanding the heel, the vertical alignment between the neck holes and body holes are still not quite right because I've got about another 1/10th or so of the hole length to go. At least the pesky finish has been taken off and the bottom of the neck and the top of the pocket are now virtually have no gap when I do a test fit.

The top of the pocket is pretty level at this point. I didn't bother to take out the last bits of finish, because by this point, the problem was gone.

The heel of the neck pocket joint still has some base coat/finish left over, but sanding this was really difficult.

I really wanted to work fast here, but I ended up scratching the body a bit because of how I was holding the sandpaper. A bit of it would catch the body, but I didn't notice until I realized it had already roughed up a bit of the finish.

Luckily, the area is going to be covered with the pickguard, and to be honest, it's just a small cosmetic issue. I want the guitar to be a workhorse, and I'd much rather it have good specs and comfort as opposed to something that looks great but doesn't fit the way it should.

Here's the pocket with the light coming in from a different angle:

Scratches in the finish. (Dammit!)

After spending 2.5 hrs chiseling, sanding, checking over and over again, the gaps have been reduced but the alignment is still not yet perfect. (As to why removing material reduces the gaps, it's because the extra finish in the neck pocket isn't flush, so bits of it were wedging up against the neck and stretching the neck pocket a little bit. After removing material to make it flush, the fit no longer has to be forced in, and the neck pocket isn't stretching to make the fit.) However, most of the finish has now been removed from the pocket, so I would consider this a decently productive day. I'll start working on the neck sometime next week and I'll revisit this neck pocket when I'm closer to being able to fit the neck to it.

Monday, June 17, 2013

The Body In Sunlight

The Fiesta Red finish really is something special. It's a difficult color to describe and a difficult color to really express even with pictures, because it changes so much depending on how the light hits it.
Here are a couple of pictures of just the body in the sun:
Here's the back (I really like that deep contour):
What's strange is that in the first couple of pictures of the front, it looks a bit more red, but the picture of the back looks a bit more orange.
Here's the result of the test fitting. As you can see here, when the light hits it differently, it seems to be yet a different color (and sorry about the fingerprints and stuff that the sunlight picked up at this angle):
Even now, with only 2 parts, the Strat is starting to take on a distinctive shape, and it's becoming very clear what the finished product is going to look like:
I'm hoping that this is going to sound as good as it looks.