I spent the past 2 weeks on final assembly. The biggest part of it ended up being the soldering of the electronics and then the drilling of a few more holes for a couple more things.
After I attached the neck to the body and put on some strings, I decided to clean the finish off the frets. On all-maple necks, the finish is sprayed over the fretboard and covers the frets as well. I did some quick setup of the action (string height + a bit of intonation) before I realized that the finish on the frets would interfere with setup.
The left side shows some frets that don't have any finish left, while the right side shows peeling finish from the frets. I ended up having to use a sharp blade to score the base of the fret in order to expose the fret itself. This helped in making the finish easier to remove.
In the meantime, my DiMarzio Area pickups had arrived:
These DiMarzio pickups ended sounding pretty good. The reason why I decided to get these is because they're noiseless pickups (regular single coil pickups hum at 60 Hz which really makes it hard to record direct).
The next few days, I prepared my soldering equipment and started wiring. The first step was to install the components into the pickguard.
I braided the pickup wires in preparation for securing the wires together neatly.
I used latex surgical tubing to provide some tension for the pickup mounting screws (so that height adjustment can be done easily and the pickup can be secured) rather than the regular springs because I didn't want any rattling inside of the guitar while I play.
The potentiometer closest is the no-load pot from Fender. Up until 10, the pot will regulate tone until it hits 10, at which point the knob will "click" and remove itself from the circuit. Traditionally that knob is set up to control the tone for the middle pickup, but I decided I wanted the option to have the bridge also controlled. The problem was that I also wanted the option to take the tone control out of the circuit for the bridge pickup when I wanted the more traditional sound (which is with the bridge pickup not even wired to a tone pot).
The 0.022 μF Orange Drop capacitor (which is used for controlling the tone) right next to the pickguard.
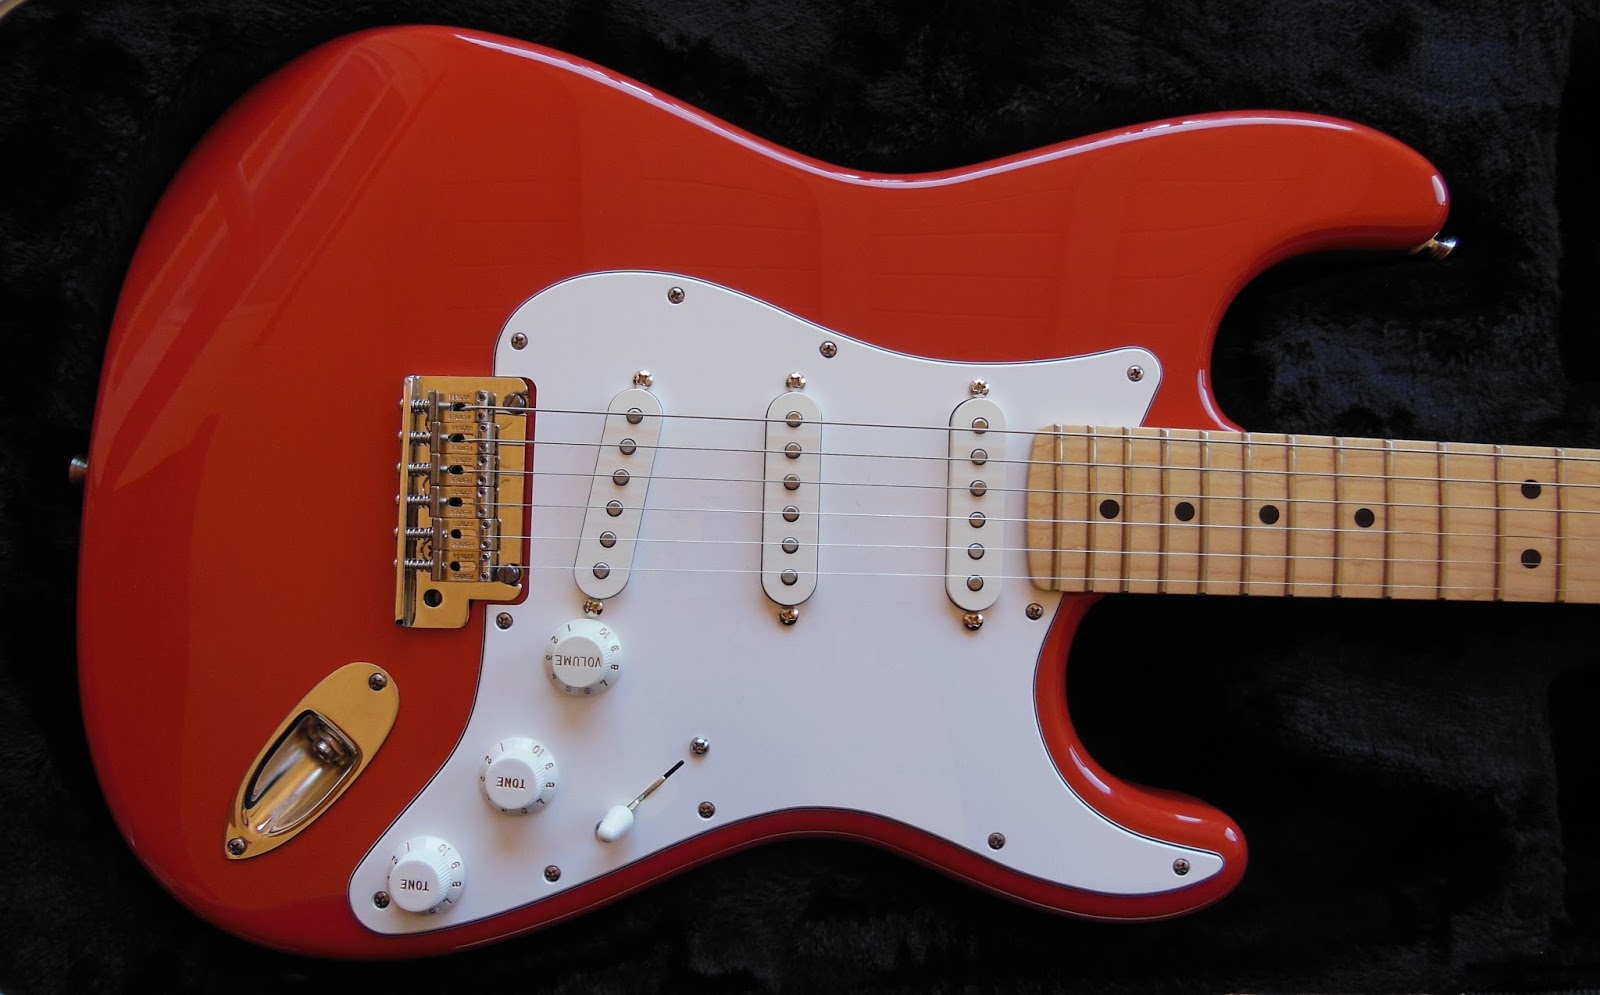
Front of the pickguard. I decided that I wanted a very clean-looking white with all the components white as well. I think this is a really clean, modern, and standard look which I find is elegantly understated.
When it came time to solder, I had to practice a little bit first since I hadn't soldered for a long time (and the last time I did it, the joints were pretty terrible). I prepared by watching a bunch of videos on YouTube on how to properly solder.
The soldering ended up being not as bad as I thought, but soldering to the back of the pots was really difficult. The solder had a hard time melting since the pot acted as a big heat sink and didn't get quite hot enough for the solder. I ended up having to get a 60 watt soldering iron (rather than the 25 watt that I had) in order to redo the pots the next day. The 60 watt iron melted the solder really quickly and produced pretty nice solder joints.
I ended up using cloth-covered wires for most of the work and I think it's a lot easier to work with that type of wire rather than the modern plastic-covered kind, mainly because the cloth-covered wire has a fairly solid length of wire that's easy to move around and bend. No need for stripping the wire and twisting individual strands together.
After soldering, I spent about an hour cutting up copper shielding tape and then covering the cavities in the body. This produces a Faraday cage to prevent electromagnetic interference from generating noise in the circuit.
At this point, I had worked a couple of hours already, but I was determined to finish the guitar. I unscrewed the neck from the body so that I could put in the pickguard to get the right spacing for drilling its holes (since the neck has 22 frets instead of 21, I have to remove the neck whenever I want to move the pickguard). Once I put the pickguard back on, I screwed back on the neck and put the strings back in so I could wiggle the pickguard to ensure that I got good spacing for the strings to the pickups.
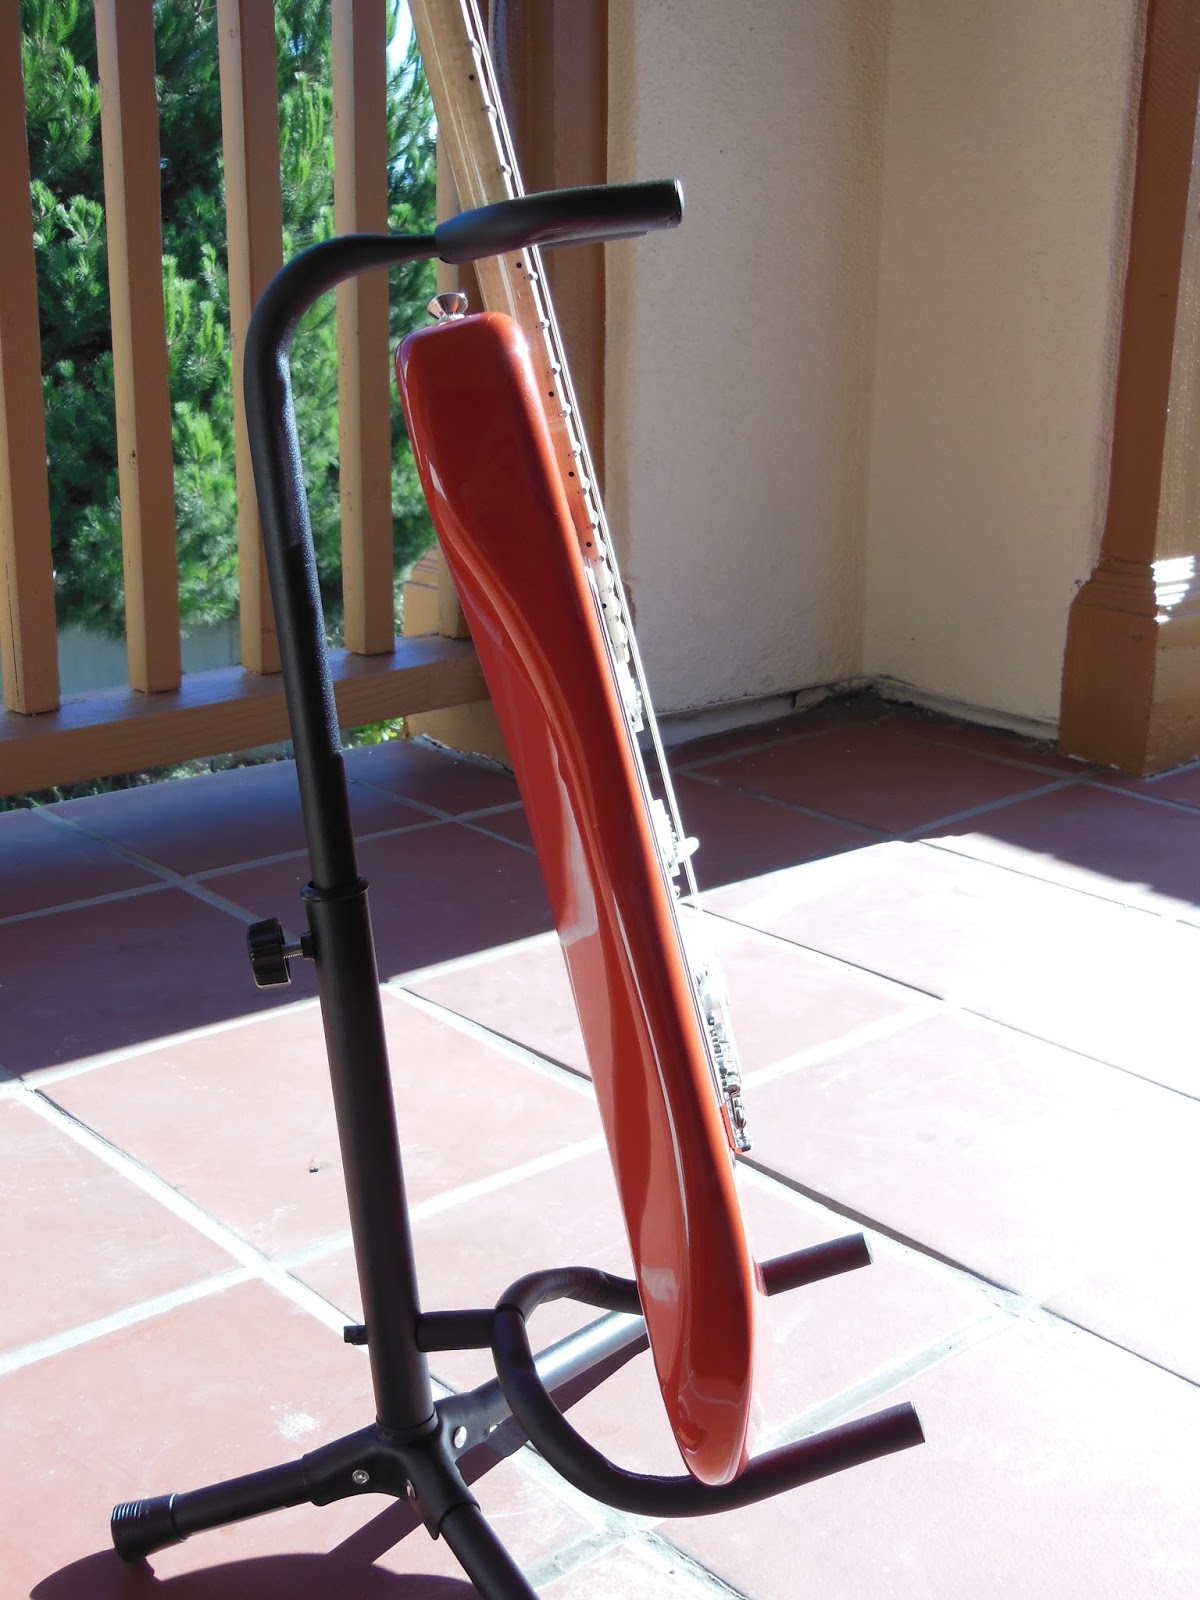
By this point, the guitar was looking very close, so I couldn't help but get some pictures of it before I ran out of sunlight.
I moved the pickguard around to find a good position so that the strings would pass over the pole pieces of the pickups. The spacing and position turned out to be just right.
I then proceeded to drill pilot holes for the pickguard, and I ended up just freehanding them right through the pickguard holes with a 1/16 inch brad point bit. For each hole, I first ran the drill in reverse and pressed down into the body after centering the bit in the hole, and once I had a fairly deep enough mark, I set the drill forward and then drilled down.
After I was done, I removed the neck yet again so I could open the pickguard and do the final soldering of the input jack connection and two ground connections (one to the shielding and one to the tremolo claw).
Connected!
By this time, it was beginning to get dark so I soldered the connections to the output jack, and then slowly began the process of installing each screw to each pilot hole in the pickguard and the output jack.
The final step was reinstalling the neck back on. At that point, I had a working Stratocaster!
The past week since the build was done has been devoted to setup of the action and intonation. I didn't end up having to adjust the neck truss rod, but I've been slowly getting the string heights to what I like and feel comfortable with. I haven't had time to get some pictures of the finished Strat throughout the week, but I just got a couple of shots today in the late afternoon. I'll post them up soon with some morning shots that I'll probably take tomorrow morning.
The final assembly was very tedious, but when I got that first note to sound from the amp, I knew that this had been all worth it.